Saturday, May 31, 2008

Hujan di Miri

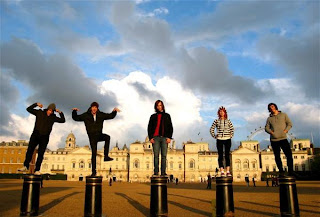
Meet the Fans Session Hujan telah diadakan di Bintang Plaza, Miri pada 31 Mei 2008 (Sabtu lepas). Event dimulakan pada pukul 4 petang. Hujan memulakan persembahan mereka dengan membawakan lagu 'Kuala Lumpur'. Sebaik saja Noh menjerit, "Kuala Lumpur" aku terkejut dan kata-kata, "ha? Kuala Lumpur?" *smirk* keluar dari mulut aku (kalau ada orang yang terdengar aku bercakap sendiri, lantaklah).
I mean, band kau ada lagu yang bertajuk 'Miri', kau datang ke Miri buat show di Miri, and oh, your hometown happened to be Miri tapi kau nyanyi lagu 'Kuala Lumpur'? Kalau aku yang bukan kipas-susah-mati band kau pun terasa, apatah lagi raingers-raingers band tersebut? Hmm...aku tak naklah komen banyak, pandai-pandailah fikir sendiri. Komunikasi di antara Noh dengan peminatnya sangat baik, cuma mungkin AG, Am dan Dukegong diberi peluang untuk berinteraksi juga bersama peminat. Apa-apapun menerusi apa yang aku lihat dalam persembahan yang tidak sampai sejam itu, aku rasa event itu...oklah. Walaupun ada 2-3 lagu yang aku tak tahu. Heh. *shrug* Whatever.

Friday, May 30, 2008

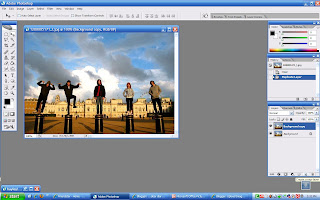
Slide film processed in C41 in Photoshop

Hello again kids! Today's tutorial is to emulate slide film processed in C41 chemistry in Photoshop :B

1) First of all, open your image of course then duplicate the iamge (as usual).


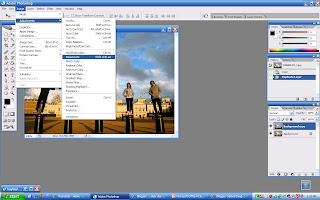
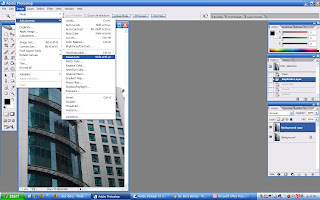
2) Next, go to Image > Adjustments > Desaturate (Shift + Ctrl + U for shortcut)


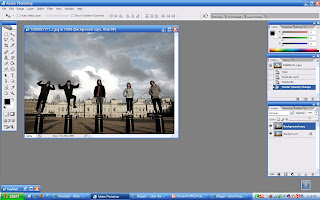
3) Then, reduce the Opacity to 72%.


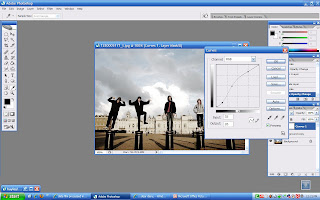
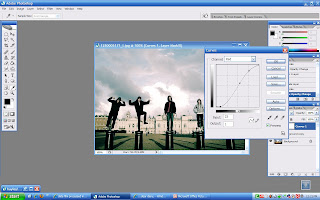
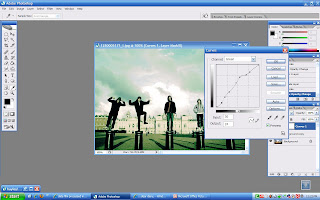
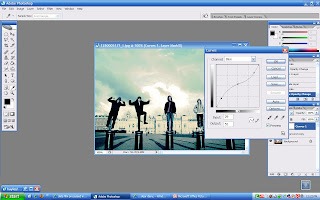
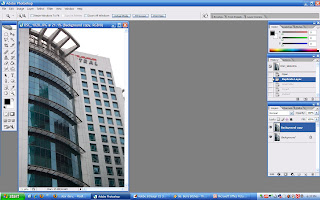
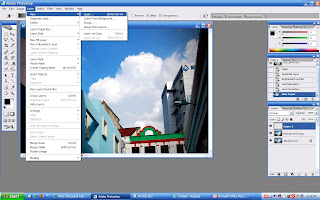
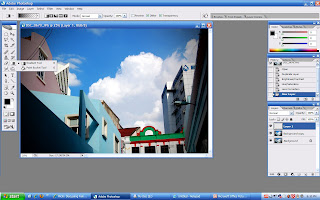
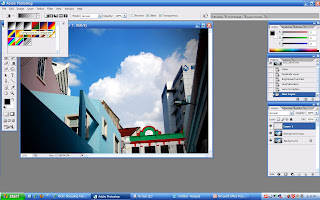
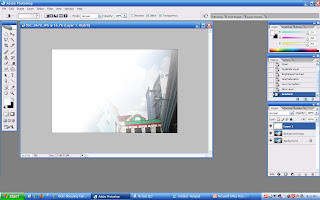
4) Go to Create new fill or adjustment layer on the Layers palette and choose Curves or Image > Adjustments > Curves. Adjust the Channels as in the images below. You can always do your own adjustments (that is suitable for your image) but move the points to form a "S" shape.


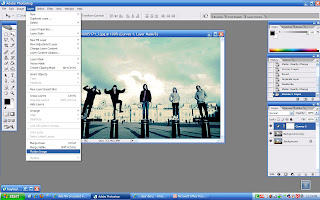
5) Lastly, flatten your layers (Layers > Flatten Image).


Before


After


Another way to get a better result for your image is by skipping steps 2 and 3 (Desaturate and Opacity). But it depends on your image so, do all the steps first and see it with and without the Desaturate and Opacity layers by clicking the eye on the left side of the layer. The images below are the one that I did without the Desaturate and Opacity layers.

Thursday, May 29, 2008

Bicara Cinta: Ricardo

Indah itu rasa
Rasa itu deria
Deria itu hadiah
Hadiah itu berharga
Berharga itu cinta
Cinta itu mulia
Mulia itu kasta
Kasta itu salah
Salah itu kita
Kita itu manusia

Awak sayang saya tak?
Sayang. Kenapa awak tanya?
Just asking.
Sure?
Mmm...Actually ada benda yang bothers me.
Apa dia?
Saya tengok awak macam dah change.
Change? What do you mean? Memanglah saya dah tukar colour rambut. Pink macam kena dengan my personality kan?
Yea, I think the new colour suits you. Tapi bukan perubahan tu yang saya maksudkan.
Habis tu? Tell me, please. You know I don't like secrets.
Well, memang pasal secrets juga. Saya rasa awak banyak keep things behind my back.
What things? Every encounter between me and the other guys, I cerita kat awak kan?
I know. Tapi I think there's more to it.
More? Takkanlah my stories tak detail? By the way, apa relation between change and secrets ni? Tak pahamlah.
Mmm...awak sekarang dah tak macam awak yang saya kenal 2 tahun lepas.
And...?
Macam awak banyak berahsia dengan saya.
You're making me confused. Rahsia apa?
I got to know from one of my friends, yang awak gi meet up dengan budak tu.
Budak mana?
Budak yang awak have sex dalam kereta dia tu.
Ah. That boy...Saya jumpa dengan dia 2 kali je. Pastu tak jumpa lagi. Lagipun, dia busy sekarang. Got exams.

for more of this story, go buy this book :B tak mahal rm15 jer (:

Tuesday, May 27, 2008

Congkak - Movie Review

Ok-ok, I know. Movie ni dah lama klua, aku memang nak buat review pasal movie ni tapi ntah...slalu jer terlupa dan...terlupa...hoho...
Anyway, aku pegi tengok movie ni bersama rakan-rakanku (chewah) dan tengok midnight movie lagi tu semata-mata nak dapatkan mood movie tu. Siap booking 16 seats tu...hehe. Moving on to the movie review. Kalau out of 5, aku bagi movie ni 2.5. Kenapa? Sebab aku betul-betul kecewa dengan movie ni. Aku jangkakan movie ini akan lebih hebat lagi dari Jangan Pandang Belakang. Seriously aku katakan, Jangan Pandang Belakang lebih menyeramkan daripada Congkak.

Pada awal movie ini (scene Nanu bermimpi), memang diakui agak menyeramkan jugaklah dengan sound effect yang tidak dinafikan boleh buat kau sakit jantung kat situ. Tapi lepas movie ni semakin berjalan, aku rasa macam, "alahai bosannya" (walaupun kadang-kadang aku cover nak tengok sebab sound effect tu buat aku cuak sikit :B). Watak Riezman dalam ni memang tidak membantu langsung. Kalau digantikan dengan orang lain mungkin movie ni "hidup", sebab aku tak tahu kenapa Riezman begitu "kayu" dalam movie ni. Tsk tsk...

Lagipun, aku rasa movie ni macam dibuat secara tidak betul (mungkin sebab Ahmad Idham terlampau confident, aku tak tahu). Reason?
1) Dia tidak ceritakan lebih detail macam mana congkak tu boleh berada di bumi (I supposed pada awal movie tu mereka di alam yang lain sebab ada dinyatakan kalau congkak tu jatuh ke bumi akan berlaku perkara yang buruk - kalau tak silap aku sebab dah tak ingat movie tu)
2) Watak Ruminah tu pun tak diceritakan dengan detail kerana buat aku tertanya-tanya siapa sebenarnya watak Ruminah tu dan apa kaitannya dengan congkak tersebut.
3) Watak M.Rajoli pun patut diceritakan jugak pasal macam mana dia tahu pasal rumah tu.
4) Siapakah gerangan perempuan misai itu dan apakah motif watak itu sebenarnya?
...dan banyak lagi kekurangan movie ni sebenarnya cuma aku tak ingat jalan cerita movie ni (tak macam JPB, aku ingat sebab aku tengok 2 kali :B) Dan rasanya Ahmad Idham tak perlulah tambah effect-effect seperti masa Nanu terapung dan masa nak dapatkan balik budak tu daripada dilarikan oleh Ruminah. Bagi aku effect-effect tu dah mencacatkan movie tu. Bila aku tengok jer scene Nanu terapung atas katil tu, aku dah geleng kepala dan merasakan kecewa yang teramat sangat dengan movie ni sebab aku expectkan movie ni lebih hebat daripada JPB. Lepas habis dan keluar daripada wayang tu, aku terus-terusan menggeleng kepala dan terasa kecewa yang teramat sangat dan perkataan "bolehlah" seringkali keluar dari mulut aku bila orang tanya aku tentang movie tu. Dan Daus pun cakap kat aku, "Amie, nampaknya 'trip' kau menjadilah walaupun takda proposal. Lain kali buat lagilah." Oh yes for sure, tapi kalau ada "filem horror Melayu" kat wayang, aku takkan masukkan dalam "proposal" aku. Hahah

Bau - Warkah

Takkan lagi aku menunggu
Kau hadir di dalam mimpi-mimpiku
Puasku mengharapkan dirimu
Seperti mereka yang punya cinta

Diriku tanpa dirimu
Kau tempuhi penuh bahagia
Diriku mahu kau tahu
Pedih ini kau tak terasa

Warkahku mengharapkan dirimu
Seperti yang aku kenali dulu
Setiaku menantikan dirimu
Seperti setianya terhadap diriku

Tapiku melepaskan mu
Melangkah namun tak berdaya
Terusku terus menunggu
Cinta yang takkan pernah ada

Download Bau - Warkah

Lineart

Today's tutorial: turning your image into lineart

1) Duplicate your picture as usual.


2) Go to Image > Adjustment > Desaturate (Shift + Ctrl + U for shortcut)


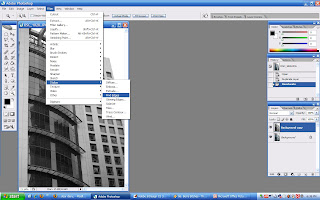
3) Then go to Filter > Stylize > Find Edges


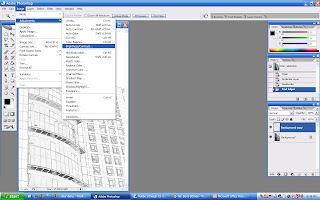
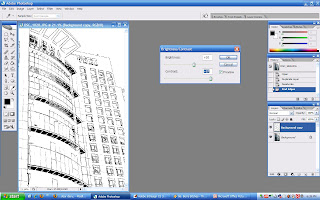
4) Next, Image > Adjustment > Brightness/Contrast (Brightness: +20, Contrast: +87 but you can always play with the settings)


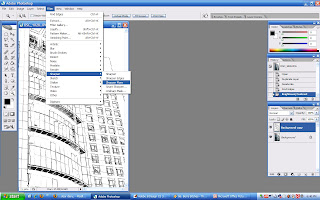
5) Filter > Sharpen > Sharpen More


Walaah! There you go, you already turned you picture into lineart.

Before


After


Andra & The Backbone: Sempurna - Cover by Dutch Singer


wow..! it's funny coz he reminds me of Dr. Cox from the Scrubs. haha :B for more of his video: Peter's Youtube


Wednesday, May 21, 2008

Lomo Effect

Today's tutorial: faking the Lomo Effect :B

1. Open your image then duplicate it, as usual.


2. Go to Image > Adjustment > Brightness/Contast. Increase Contrast by +20.


3. Go to Image > Adjustment > Hue/Saturation. Increase the Saturation by +20.


4. Next, go to Filter > Distort > Lens Correction. We wanted to create the round black edge to our image here, so go to Vignette and decrease the amount by -80 or any amount that you like.


5. Go to Layer > New > Layer or just simply drag your layer to Create a new layer at the bottom of the layer palette.


6. Then go to your Tools palette, select Gradient Tool or just press 'G' on your keyboard for shortcut. Next, click Foreground to transparent for your gradient shading.


7. Change your primary color to white then click in the middle of your image and drag it from left to right (if it's landscape).


8. Change your Blending Mode to Overlay and lower the Opacity to 60%.


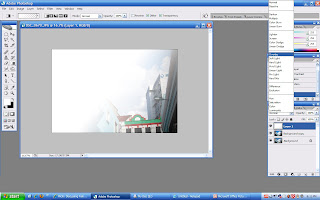
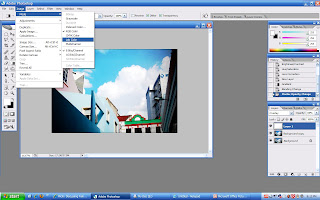
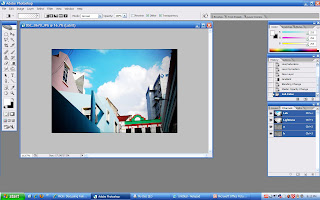
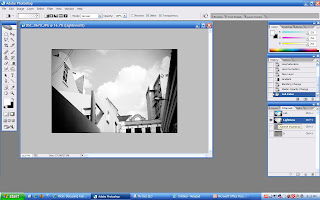
8. Go to Image > Mode > Lab Color. It will ask you whether you want to flatten your image or not. Click Flatten.


9. On the Channels palette, select the Lightness layer. Then go to Filter > Sharpen > Unsharp Mask. (Here I used - Amount: 50%, Radius: 40.0 pixels, Threshold: 0. You can play with the settings until you're satisfy with it)
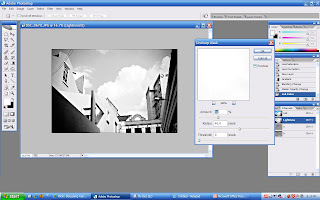

10. Lastly, change it back to RGB Color (Image > Mode > RGB Color).


There you go! A Lomo Effect on your non-Lomo image :D

Before

After

Fake HDR II: The Before and After

Ok, Kecik had asked me to post the berofe and after image of the Fake HDR turorial. Here's the image of it.

Before:

After:


The original HDR actually uses 3 different exposures (under, over and normal exposure but for better result some uses 5 exposures). For this fake HDR, it depends on your image to get the almost similar result as the HDR. Play with the settings for Surface Blur and Unsharp Mask. Also use Burn/Dodge Tool and Exposure of 20% for better effect. Good luck!

Monday, May 19, 2008

Cross Processing

Hello again kids! :B Today's tutorial: Cross Processing
1) As usual, duplicate the layer or you can just simply unlock the layer by double clicking the current layer.

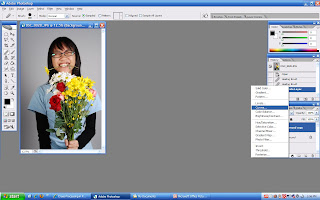
2) Click the Create new fill or adjustment layer icon in the Layers palette and select Curves.


3) Select Red from the Channel drop-down box. Drag the points on the curve so that it form into some sort of 'S' :B This is used for darkening the shadows and brightening the Red channel's highlights.


4) Then select the Blue channel and drag the curve's on top-right downward. Do the same on the curve's bottom-right but point it up a little.


5) On the Green channel, drag another 'S' curve.


6) Then, select the RGB channel but leave the curve untouched.


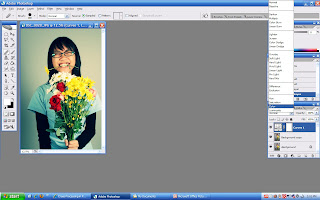
7) Change the Blending mode to Color.


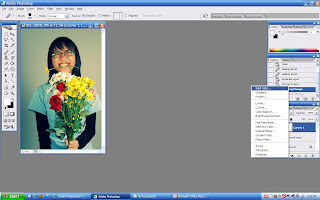
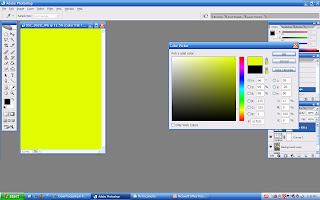
8) Next, select Solid Color on the Create new fill or adjustment layer in the Layers palette. Choose a yellow-green color and click 'OK', then reduce the layer Opacity 10% or as much as you like for your picture.


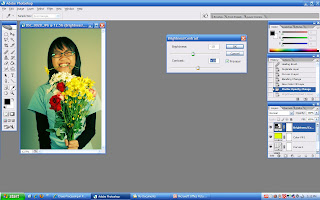
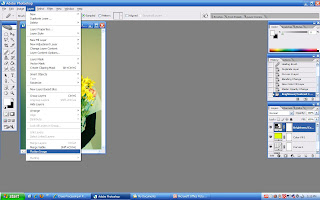
9) Go to Brightness/Contrast on the Create new fill or adjustment layer. Play with the Brightness/Contrast. Here I used -10 for Brightness and +10 for Contrast. Then go to Layer > Flatten Image.


There you go! A cross processing for your image :B