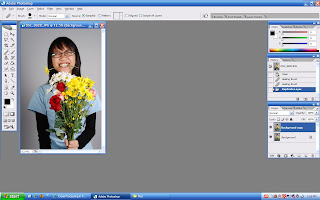
Hello again kids! :B Today's tutorial: Cross Processing
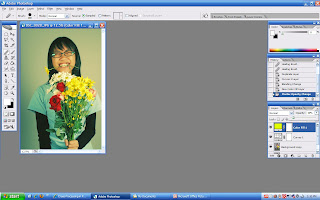
1) As usual, duplicate the layer or you can just simply unlock the layer by double clicking the current layer.
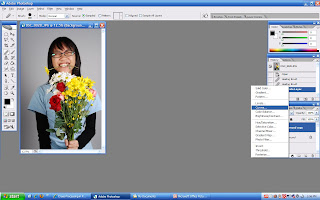
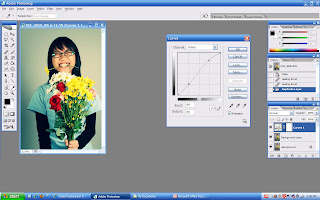
2) Click the Create new fill or adjustment layer icon in the Layers palette and select Curves.
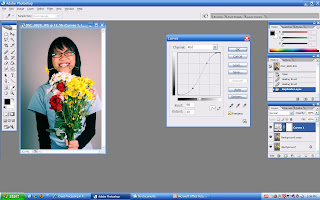
3) Select Red from the Channel drop-down box. Drag the points on the curve so that it form into some sort of 'S' :B This is used for darkening the shadows and brightening the Red channel's highlights.
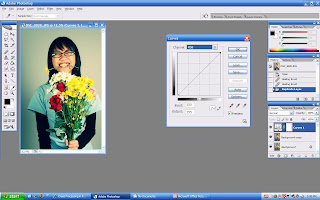
4) Then select the Blue channel and drag the curve's on top-right downward. Do the same on the curve's bottom-right but point it up a little.
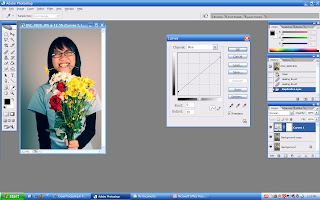
5) On the Green channel, drag another 'S' curve.
6) Then, select the RGB channel but leave the curve untouched.
7) Change the Blending mode to Color.
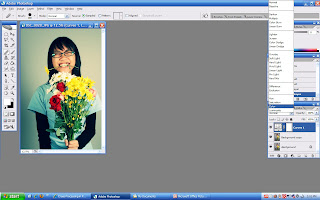
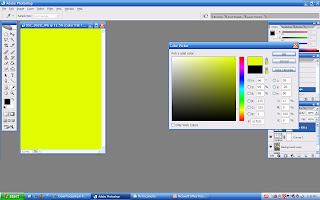
8) Next, select Solid Color on the Create new fill or adjustment layer in the Layers palette. Choose a yellow-green color and click 'OK', then reduce the layer Opacity 10% or as much as you like for your picture.
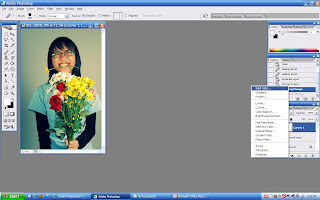
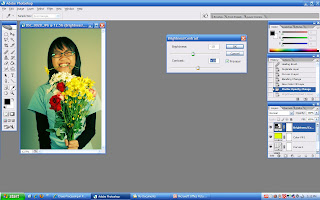
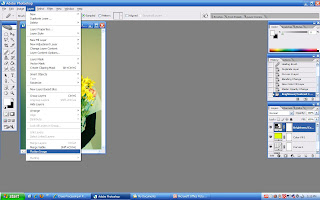
9) Go to Brightness/Contrast on the Create new fill or adjustment layer. Play with the Brightness/Contrast. Here I used -10 for Brightness and +10 for Contrast. Then go to Layer > Flatten Image.
There you go! A cross processing for your image :B


0 comments:
Post a Comment