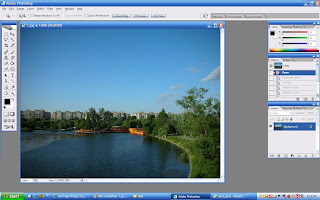
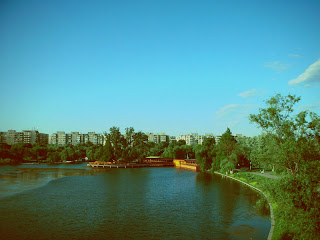
Ok kids, today I will teach you on how to add retro to your photographs (if that's the correct sentence to use...hehe)
1) First of all, you have to open a file of course :B
1) First of all, you have to open a file of course :B

2) Duplicate the layer (Layer > Duplicate or just drag the layer to Create a new layer in the Layer palette)
 3) Then, go to Image > Adjustment > Curves. Play with the settings on the curves. I used several settings for each Channel. Work on it until you satisfied with the color.


4) Next, go to Image > Adjustment > Selective Color. Select Relative as its Method. Again, play with the settings on Colors menu. Here's the setting that I used for this picture - Neutrals: Yellow: -2%. Black: Cyan: -26%, Yellow: 77%. Then click OK. Go back again to Selective Color and go for this settings - White: Cyan: -28%, Yellow: 45%. Black: Yellow: 11%


Wala! There you go, a retro color for your picture! :B


1 comments:
i ske lah
Post a Comment