Today's tutorial: faking the Lomo Effect :B
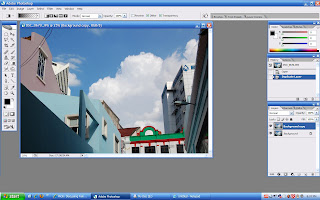
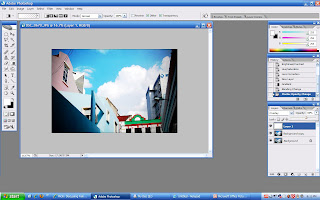
1. Open your image then duplicate it, as usual.
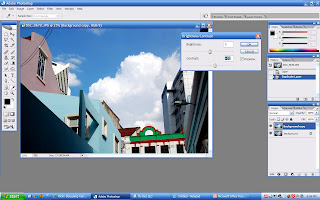
2. Go to Image > Adjustment > Brightness/Contast. Increase Contrast by +20.
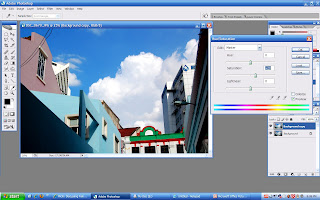
3. Go to Image > Adjustment > Hue/Saturation. Increase the Saturation by +20.
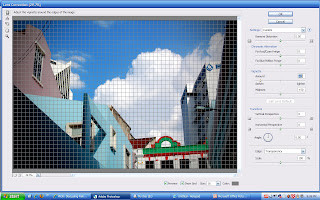
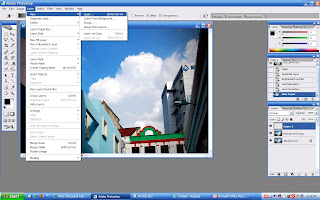
4. Next, go to Filter > Distort > Lens Correction. We wanted to create the round black edge to our image here, so go to Vignette and decrease the amount by -80 or any amount that you like.
5. Go to Layer > New > Layer or just simply drag your layer to Create a new layer at the bottom of the layer palette.
6. Then go to your Tools palette, select Gradient Tool or just press 'G' on your keyboard for shortcut. Next, click Foreground to transparent for your gradient shading.
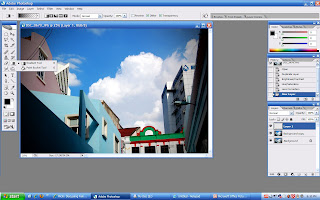
7. Change your primary color to white then click in the middle of your image and drag it from left to right (if it's landscape).
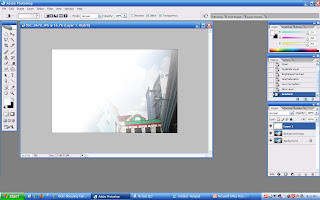
8. Change your Blending Mode to Overlay and lower the Opacity to 60%.
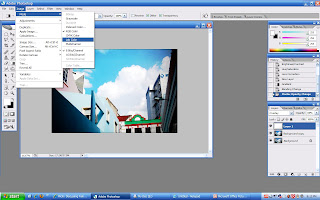
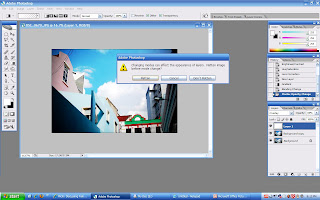
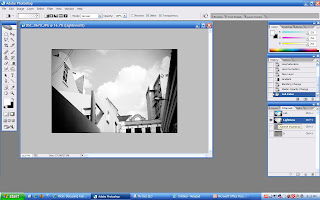
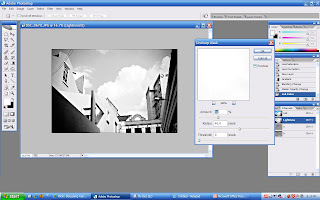
8. Go to Image > Mode > Lab Color. It will ask you whether you want to flatten your image or not. Click Flatten.
9. On the Channels palette, select the Lightness layer. Then go to Filter > Sharpen > Unsharp Mask. (Here I used - Amount: 50%, Radius: 40.0 pixels, Threshold: 0. You can play with the settings until you're satisfy with it)
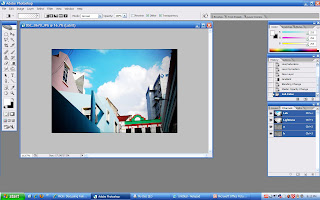
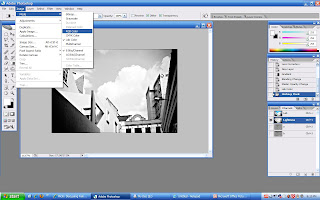
10. Lastly, change it back to RGB Color (Image > Mode > RGB Color).
There you go! A Lomo Effect on your non-Lomo image :D
Before

After


2 comments:
makaseyh sebab bt image before n after..dpt la nmpak perbezaan..
kalo x juling aku nak scroll atas bwh
haha no prob!
aku pun slalu terlupa nak letak before after
Post a Comment