I've got it somewhere on the Internet but I forgot what's the URL. If you happen to know the website please let me know :)
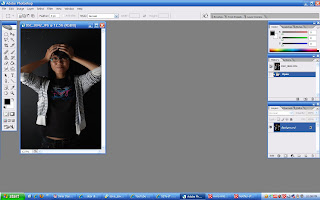
2) Duplicate the file. You can do that by clicking Layer > Duplicate Layer or just slimply drag the file to the Create a new layer on the layer palette
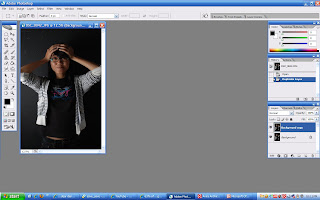
3) Then, go to Filter > Other > High Pass. Here I used 6.0 pixels. You can adjust it depending on your photo

4) Change the Blending Mode to Vivid Light.
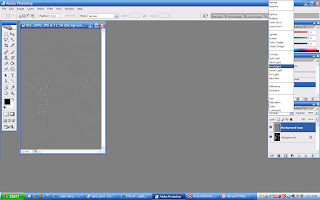
5) After that, merge visible the layer by clicking Layer > Merge Visible or press Shift + Ctrl + E (for PC)
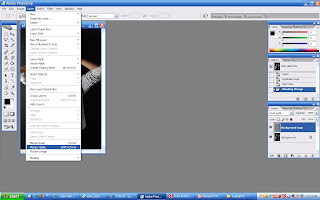
6) Then, duplicate the layer again
7) Select high pass again but this time I used 8.0 pixels
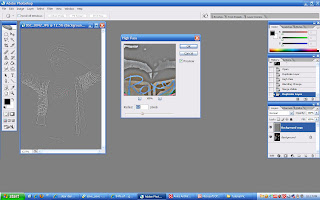
8) Change the Blending Mode to Color and lower the Opacity (I used 40%)

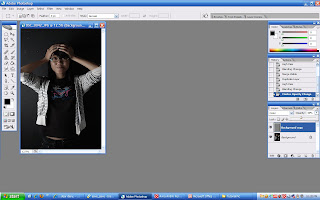
9) Merge visible...again, then duplicate the layer...again :B
10) Then, select Filter > Blur > Surface Blur. Here I used 15 pixels for Radius and 15 pixels for Threshold
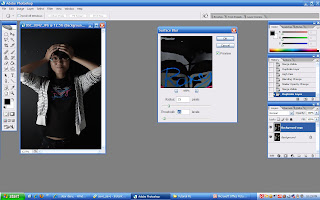
11) Then go to Layer > Layer Mask > Reveal All

12) Merge visible...again. But this time you don't have to duplicate the layer (pheww!). Go to Filter > Sharpen > Unsharp Mask. I've used 100% for the Amount, 40.0 pixels for Radius and 0 for Threshold. You can adjust it depending on your photo or if it's HDR enough for you :D

So, that's all kids. Enjoy. For more information about HDR, go google it. Hehe


5 comments:
x jadik pon cik amy oiiii... nnti ko ajo aku yek >>>>
blhnye..ko try la gmbr lain..kdg2 ada gmbr yg xjdk..xpun ko pakai burn && dodge tool..tp tu cam leceh sket
pening sket
tp pe kate ko tarok gmba tuh b4 n afta
nmpak sket beza
aishhh
terjumpa gak ko kt sineyh
http://www.flickr.com/groups/strobist/discuss/72157594577686705/page2/
kat ctok??heheheh
apakah bnda wsite itu wahai en anonymous?
xdpt bkak..
Post a Comment